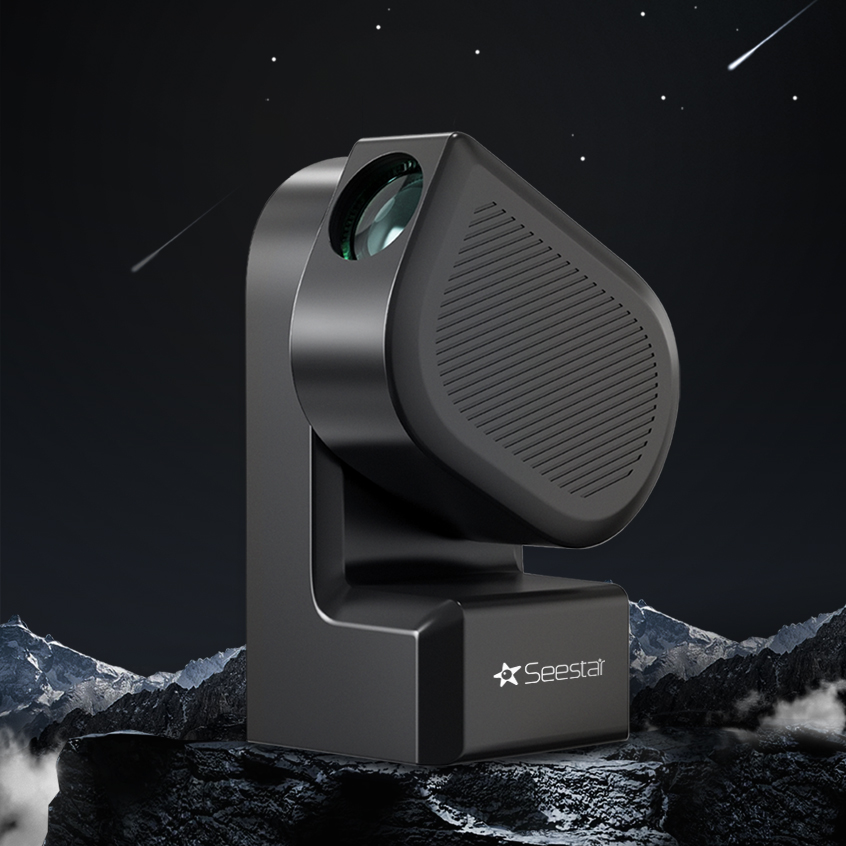
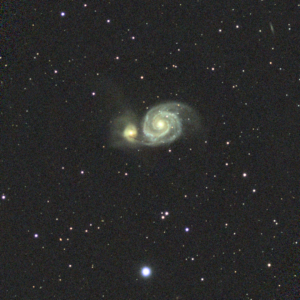
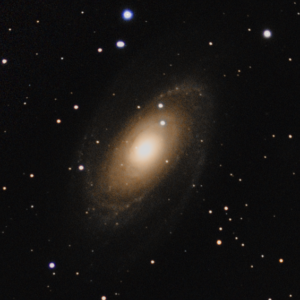
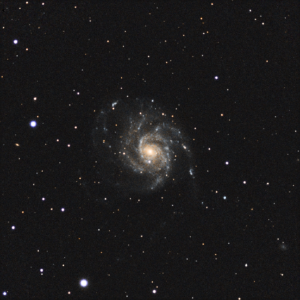
If you have a smart phone or a tablet then YOU can be a Time Traveler with the SeeStar S50 smart telescope from ZWO.
 The SeeStar S50 is a Game Changing Smart Tabletop Telescope
If you have a smart phone or a tablet then YOU can be a Time Traveler with the SeeStar S50 smart telescope from ZWO. You can skip to my Tips and Tricks page here.
This groundbreaking design marries a 2.1-megapixel Sony IMX462 CMOS sensor (offering a usable image resolution of 1920x1080) with a 50mm f/5 apochromatic triplet lens refractor telescope. All of this is seamlessly integrated into a computer-controlled alt-az mount, which, when paired with the accompanying app, delivers an unparalleled stargazing experience reminiscent of the invention of binoculars. Lunar imaging is as simple as a click on "Lunar," while solar imaging, facilitated by the provided solar filter, is just a click away on "Solar." Moreover, a comprehensive sky atlas provides a myriad of celestial objects to explore, with a curated list of "best targets for tonight" for those seeking inspiration. Capture a few snapshots, and watch as the software automatically stacks images to produce the optimal shot.
In short, it's a game changer.
 The ZWO SeeStar S50 revolutionizes amateur astronomy. While it may not boast professional-grade specifications, its setup is a breeze. In just a few minutes, you're ready to capture stunning images of the cosmos ranging from the Moon and stars to planets, nebulae, comets, and galaxies. Contrast this with the typical time traveler's ordeal of wrangling tripods, mounts, computers, and a barrage of other equipment, all while battling the elements. With the SeeStar, you can be up and running in 10 minutes or less, even opting to command your cosmic exploration from the comfort of your couch (or bed - we don't judge). And should the heavens decide to weep, the SeeStar is far simpler to relocate indoors than a conventional Time Machine to avoid the rain.
I won't recount the other many reviews of this telescope. Instead, I'll share my personal experiences and observations. Initially, I acquired the SeeStar with solar photography in mind. Despite daylight seeming more forgiving than nocturnal shots, capturing the Sun poses its own challenges. Safety is paramount; without the proper filter, staring at the Sun risks ocular injury and damage to your equipment. Furthermore, the Sun's heat creates atmospheric turbulence, manifesting as a wavering effect when observed through a telescope that can ruin many pictures.
 Thankfully, the SeeStar includes a dedicated filter, eliminating the need to gaze directly at the Sun. As for atmospheric turbulence, the SeeStar tackles this by rapidly capturing a series of exposures, akin to a short video. Sophisticated software then cherry-picks the best frames and combines them to produce a superior image, minimizing the distortions caused by atmospheric instability. The SeeStar automates this process seamlessly, providing users with consistently impressive results.
Since the 2024 Eclipse was to pass directly over my back yard, I thought it would be great to set up the SeeStar and have it track the Sun during the entire event - from first contact (the beginning of the partial eclipse phase) all the way through fourth contact (the end of the partial eclipse phase after totality). Sadly, it was 100% wall-to-wall clouds and there was nothing the SeeStar could take pictures of. Very disappointed in that, but the SeeStar did perfectly track the Sun all day (the clouds parted later in the day) and kept spot on target for more than hour hours.
 Initially, I had two complaints about the SeeStar: 1) it was an alt-az mounted rectangular sensor that suffered from field rotation and a non-standard field of view, and 2) you could not program it to go to a target on its own; you had to physically press buttons on the app to start imaging. The first problem meant that as you took longer series of images, the field of view would rotate, leaving the edges unusable. This limits the useful field of view of the image, compounded by the fact that it was rectangular instead of square. This makes it hard to take pictures of large objects (and yes, some things up there are actually quite large when you're taking pictures of them) or objects which seem to move across large parts of the sky.
The second problem means that you have to be there, in person, to push a button to start image capture. If you want to change targets, you have to push another button, in person. This means I can't turn on the SeeStar at dusk, tell it to image something that doesn't rise above the trees until 2am, and go to bed. I have to wake up at 2am to push buttons.
And then I discovered the open source seestar_run companion application. This simple python script easily converts the SeeStar S50 into a programmable multi-target astrophotography observatory. You will need a computer that's on the same network as your SeeStar, a slightly above-average knowledge of how to find targets, convert time zones, and do some very simple programming, but it lets you create scripts that allow the SeeStar to do:
- Mosaic captures
- Night session planning
- Custom target capture
- Spectral image capture over extended frames
Combine this with the discovery that the SeeStar will work just fine if you stick it on an equatorial mount and the SeeStar becomes a very capable, easy to use, solid contender for Astropotamus's list of favorite things.
More information about this great little Time Machine will be forthcoming as I use it more and learn its ins and outs.